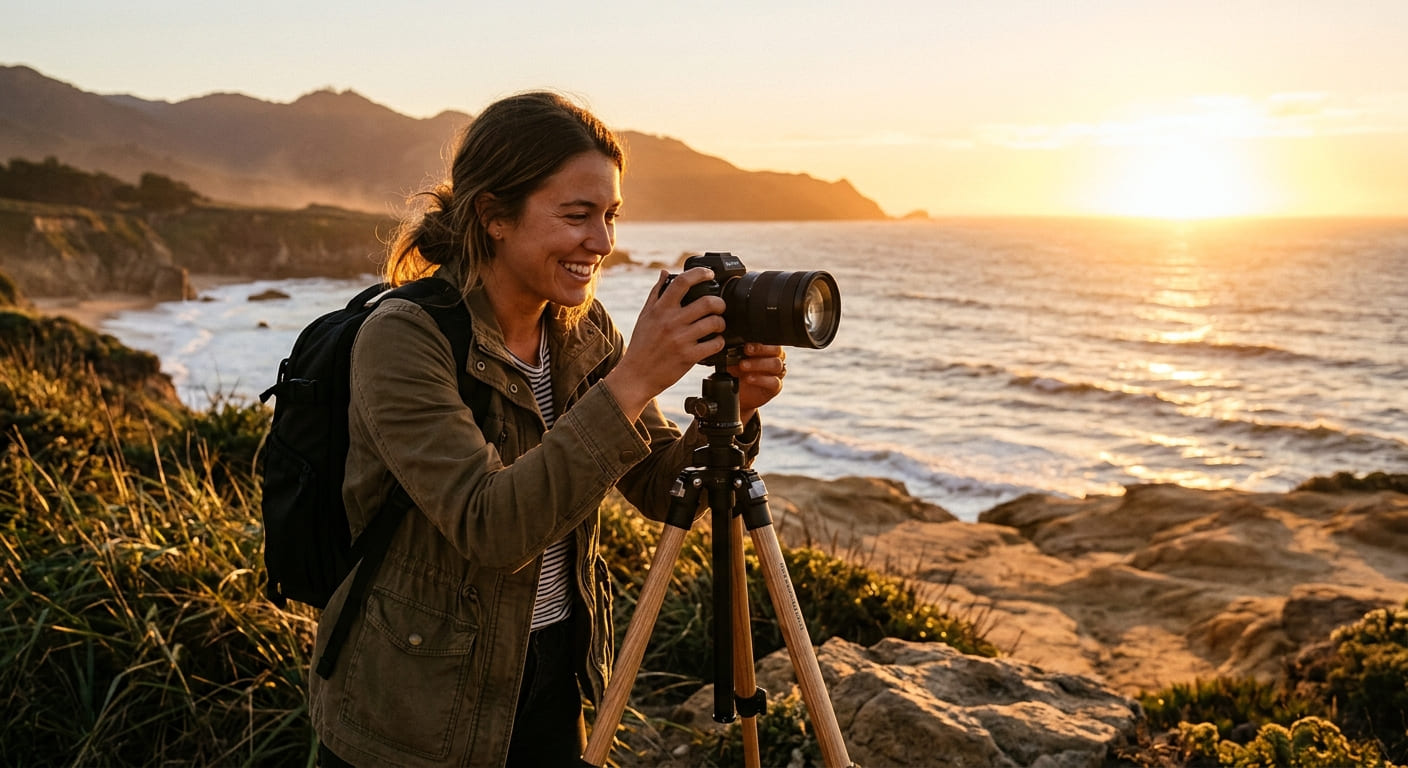
If you’ve ever scrolled through Instagram and wondered why some photos glow with a warm, dreamy softness that your own shots never quite capture, the answer usually comes down to one thing: timing. Professional photographers don’t just get lucky — they plan their shoots around golden hour, the short window of low, warm light that happens right after sunrise and right before sunset.
In this guide, you’ll learn exactly what golden hour is, why it produces such flattering light, and how to use it to shoot portraits, landscapes, and everyday photos that look noticeably more polished — even if you’re shooting on a smartphone.
What Is Golden Hour in Photography?
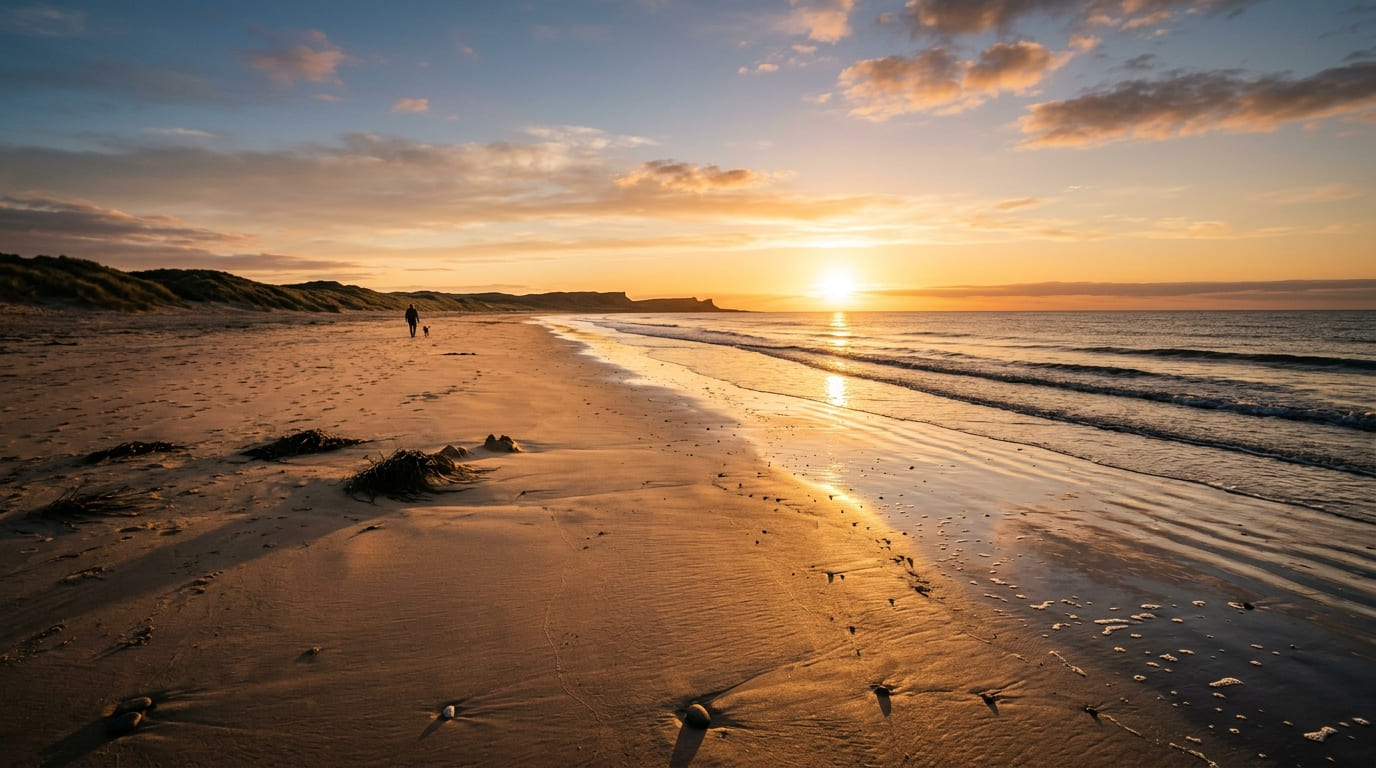
Golden hour refers to the period of time shortly after sunrise and shortly before sunset when the sun sits low in the sky. During this window, sunlight has to pass through a much thicker slice of the atmosphere than it does at midday. That longer path scatters out most of the blue light and lets the warmer yellow, orange, and red wavelengths dominate — which is why everything from skin tones to skylines takes on that soft, golden glow.
Golden hour typically lasts around 45 to 60 minutes, though the exact length depends on your latitude and the season. Near the equator, the sun drops more quickly, so the window is shorter. Closer to the poles, it can stretch out for well over an hour.
It’s worth noting that golden hour isn’t the only prized lighting window. Blue hour — the period just before sunrise and just after sunset — offers a cooler, moodier light that’s popular for cityscapes and architecture. Many photographers plan sessions that flow from blue hour into golden hour, or the reverse, to capture two completely different moods in a single outing.
Why Golden Hour Light Looks So Good
There are three main reasons golden hour is so beloved by photographers:
- Soft, angled light. Because the sun is low, its rays hit subjects from the side rather than straight down, which reduces harsh shadows under the eyes and nose that midday sun creates.
- Warm color temperature. The scattered light produces natural warm tones that make skin look healthy and landscapes look richer, without needing much color correction.
- Even exposure. The light is diffused enough that it’s genuinely hard to blow out highlights or crush shadows, giving you more flexibility when editing later.

How to Find Golden Hour Times for Your Location
Golden hour shifts every single day, so guessing isn’t a great strategy. Instead, use a dedicated tool:
- Sunrise/sunset apps like PhotoPills, The Photographer’s Ephemeris, or Golden Hour One let you enter your exact location and date to get precise start and end times.
- A quick search for “sunset time [your city]” will get you close enough for casual shooting.
- Observation works too — if you shoot in the same spot regularly, note how the light looked the day before, since sun position changes only slightly day to day.
As a general rule of thumb, plan to arrive at your location at least 30 to 45 minutes before the golden hour begins. This gives you time to scout angles, set up gear, and avoid feeling rushed once the light starts changing quickly.
Golden Hour Photography Tips for Better Shots
1. Scout Your Location in Advance
The single biggest mistake photographers make is showing up cold. Because golden hour light changes minute to minute, you don’t have time to wander around looking for a composition once the sun starts dropping. Visit your location earlier in the day (or the day before) to identify where the sun will set, which spots will catch direct light, and which will fall into shadow.
2. Position the Sun Behind or Beside Your Subject
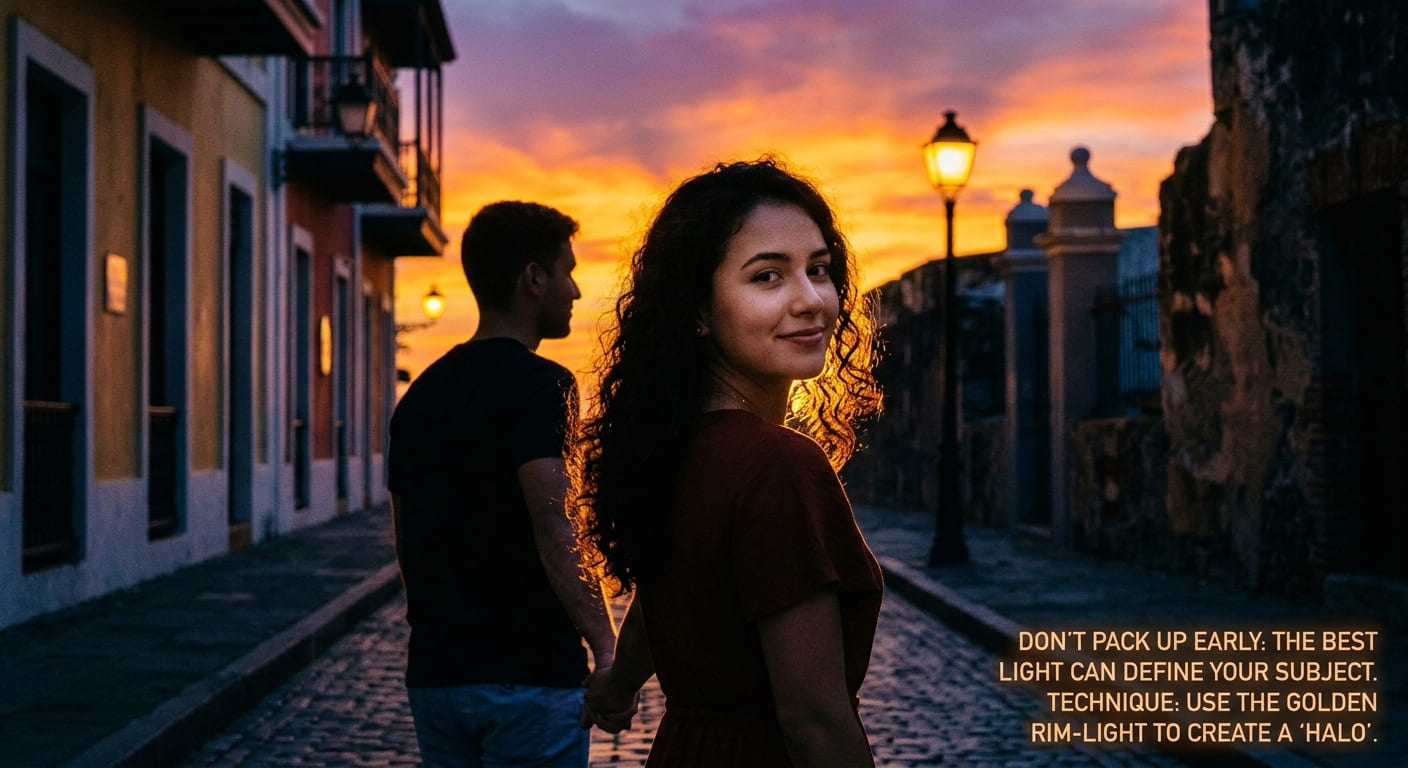
Backlighting during golden hour creates a beautiful glowing rim of light around your subject’s hair and shoulders — sometimes called a “halo effect.” Side lighting, on the other hand, sculpts the face with gentle shadows that add dimension. Experiment with both rather than always shooting with the sun at your back, which flattens the light.
3. Use a Reflector or Fill Light for Portraits
When the sun is behind your subject, their face can end up underexposed. A simple white or gold reflector (even a piece of white foam board) bounces light back onto the face and keeps skin tones bright without losing the glowing background.
4. Shoot in Manual or Aperture Priority Mode
Because the light shifts quickly, an automatic mode can produce inconsistent exposures from shot to shot. Aperture Priority mode lets you lock in your desired depth of field while the camera adjusts shutter speed as the light dims, which keeps your workflow fast without sacrificing control.
5. Watch Your Shutter Speed as Light Fades
As golden hour progresses toward sunset, light levels drop fast. If you’re photographing kids, pets, or anyone in motion, don’t let shutter speed creep too low — raise your ISO instead. Modern cameras handle ISO 1600–6400 well, and a little digital grain is far better than a blurry shot.
6. Adjust White Balance for Creative Effect
Your camera’s Auto White Balance is designed to neutralize color casts, including the warm tones of golden hour. If your images are coming out less golden than what you saw with your own eyes, try switching to the “Shade” or “Cloudy” white balance preset — both intentionally add warmth and can make golden hour colors pop even more.
7. Don’t Pack Up When the Sun Disappears
Some of the best color happens 10 to 20 minutes after the sun dips below the horizon, as the sky shifts into pink, purple, and deep orange tones. This is a great window for silhouettes — position your subject between the camera and the horizon, expose for the sky, and let the subject fall into a clean, graphic silhouette.

Golden Hour Photography for Different Subjects
Portraits and Family Photos
Have your subject face the sun directly, or nearly so — one of the few times in photography where this actually looks good rather than causing painful squinting, since the light is soft enough to be comfortable. Look for natural diffusers like trees, buildings, or beach dunes that can filter harsh early light if you’re shooting before the golden window fully kicks in.
Landscape Photography
Look for elements that will catch the low, raking light — mountain ridges, water surfaces, tall grass, or clouds. Water is especially rewarding during golden hour because it reflects the color of the sky, effectively doubling the warm tones in your frame.
Street and Travel Photography
Golden hour turns ordinary city scenes into something cinematic. Look for long shadows stretching across pavement, warm light bouncing off buildings, and silhouettes forming in doorways or alleys.

Editing Golden Hour Photos
Post-processing can enhance — but shouldn’t replace — good in-camera technique. A few adjustments that consistently work well for golden hour images:
- Pull down highlights slightly to retain detail in a bright sky.
- Lift shadows a touch to brighten faces without losing the warm mood.
- Add a little contrast and clarity to keep the image from looking flat or hazy.
- Use the dehaze tool sparingly — it can boost punch in golden hour shots, but it often adds a magenta tint, so double-check your white balance afterward.
Common Golden Hour Mistakes to Avoid
- Arriving late. By the time you notice the light looks good, you may only have 10–15 minutes of ideal shooting left.
- Ignoring the weather. Cloud cover can either enhance or completely block golden hour color, so check the forecast beforehand.
- Shooting only with the sun at your back. This produces flat, evenly lit images — mix in backlit and side-lit shots for variety.
- Forgetting exposure changes fast. Recheck your settings every few minutes rather than relying on the first exposure you dialed in.
Final Thoughts
Golden hour isn’t magic — it’s physics, timing, and a bit of preparation. Once you understand why the light behaves the way it does and build a simple pre-shoot routine (scout the location, check sunset times, arrive early, and stay a few minutes after sunset), you’ll consistently produce images with the warm, professional-looking glow that makes golden hour so popular in the first place.
The best way to get comfortable with it is simply to go shoot during it — repeatedly, in different locations, with different subjects. Golden hour light rewards practice, and within a few sessions you’ll start anticipating exactly how the light will fall before you even raise the camera.